
Ok so this is not the project to use an inkject printed picture for on plain paper, but I did anyway. Twice. I want to go and get nicer paper but it was too hot to think about driving to the craft store.
Anyway I start out with a can, these are expired peas from 2011, so we arent going to miss them.

Pencil Cup Tin Can Mod Podge
Items You Will Need:
tin can
soap
paper towel/rag
mod podge
brush or sponge
wax paper/surface to work on
Wash the can out really well. Use soap, then dry with paper towel or rag.
Peel the label off the can if you havent already. Clean that surface. Dry.
Apply Mod Podge to inside if you are decorating both sides of the tin can. If not just apply to the front side.

Roll your pattern evenly.

Apply the hell out of the Mod Podge
Have your image ready to be glued on.


Apply glue. Wait. Apply more. (See I did not wait.)

And there. If you take your time, you can even line up your pattern. Not like me, this was a mess halfway through I wondered why did I do this. But now I have something I can store my pens in at work! :)
Bonus: Patterned Duct Tape and Black Electrical Tape Finishings:
Wrap tape onto can. Done!
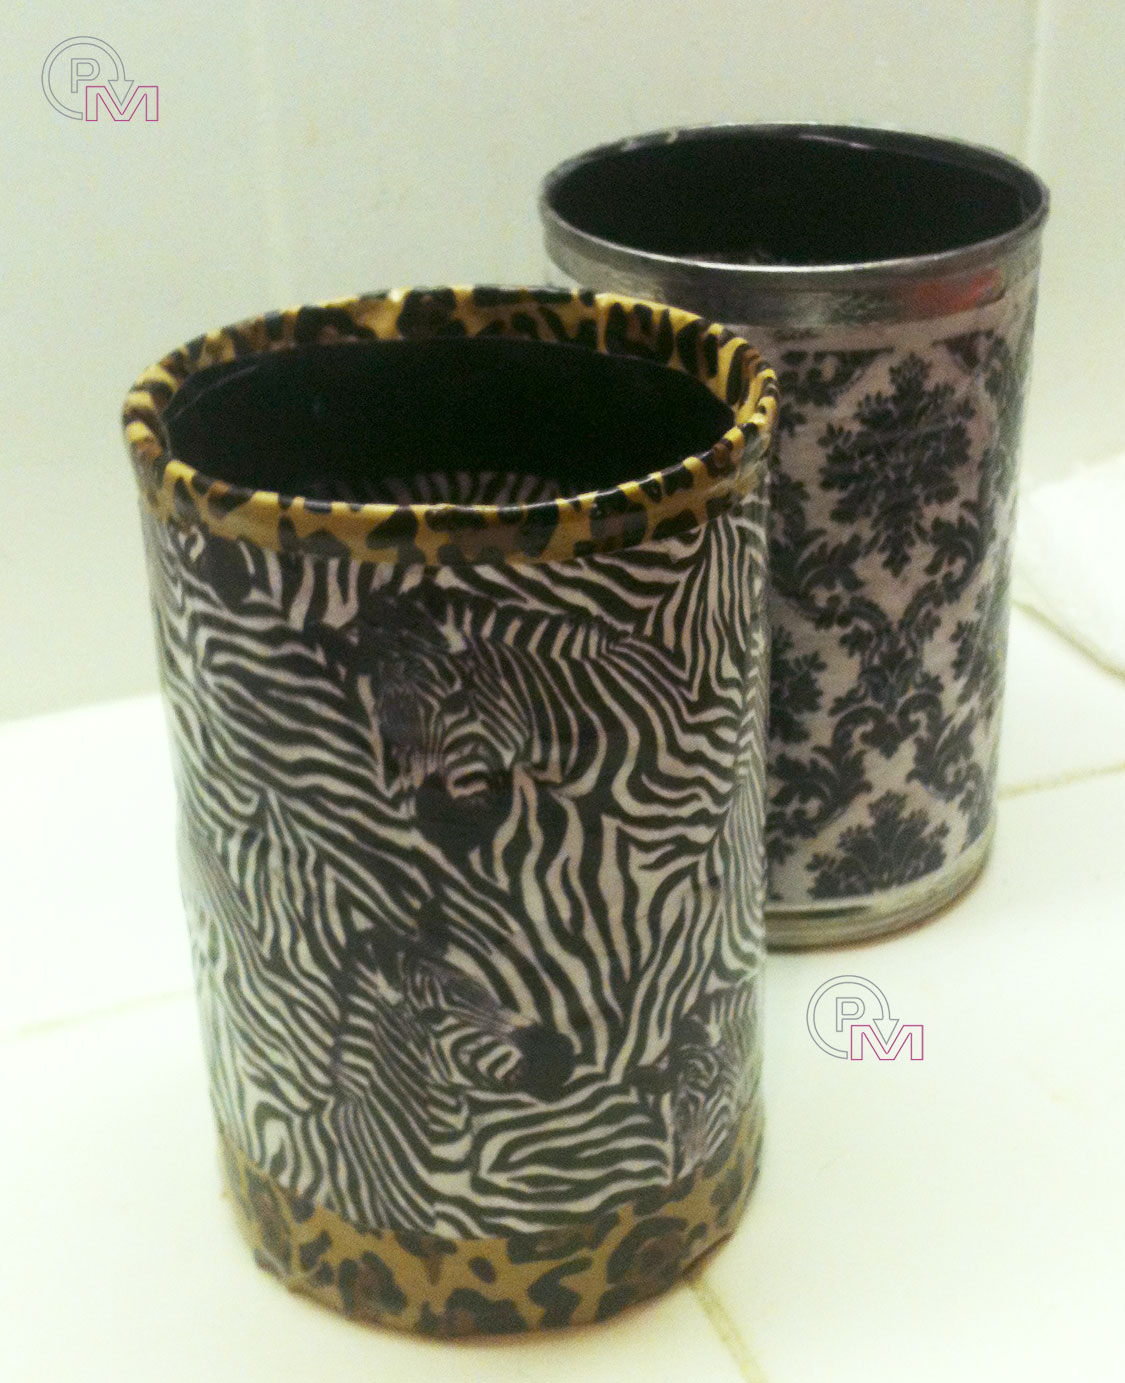


All you have to do is just wrap it around the edge for another pattern or color!
Enjoy!! I would love to see your Mod Podge Tin Cans on my blog or Swiss Army Artist on Facebook
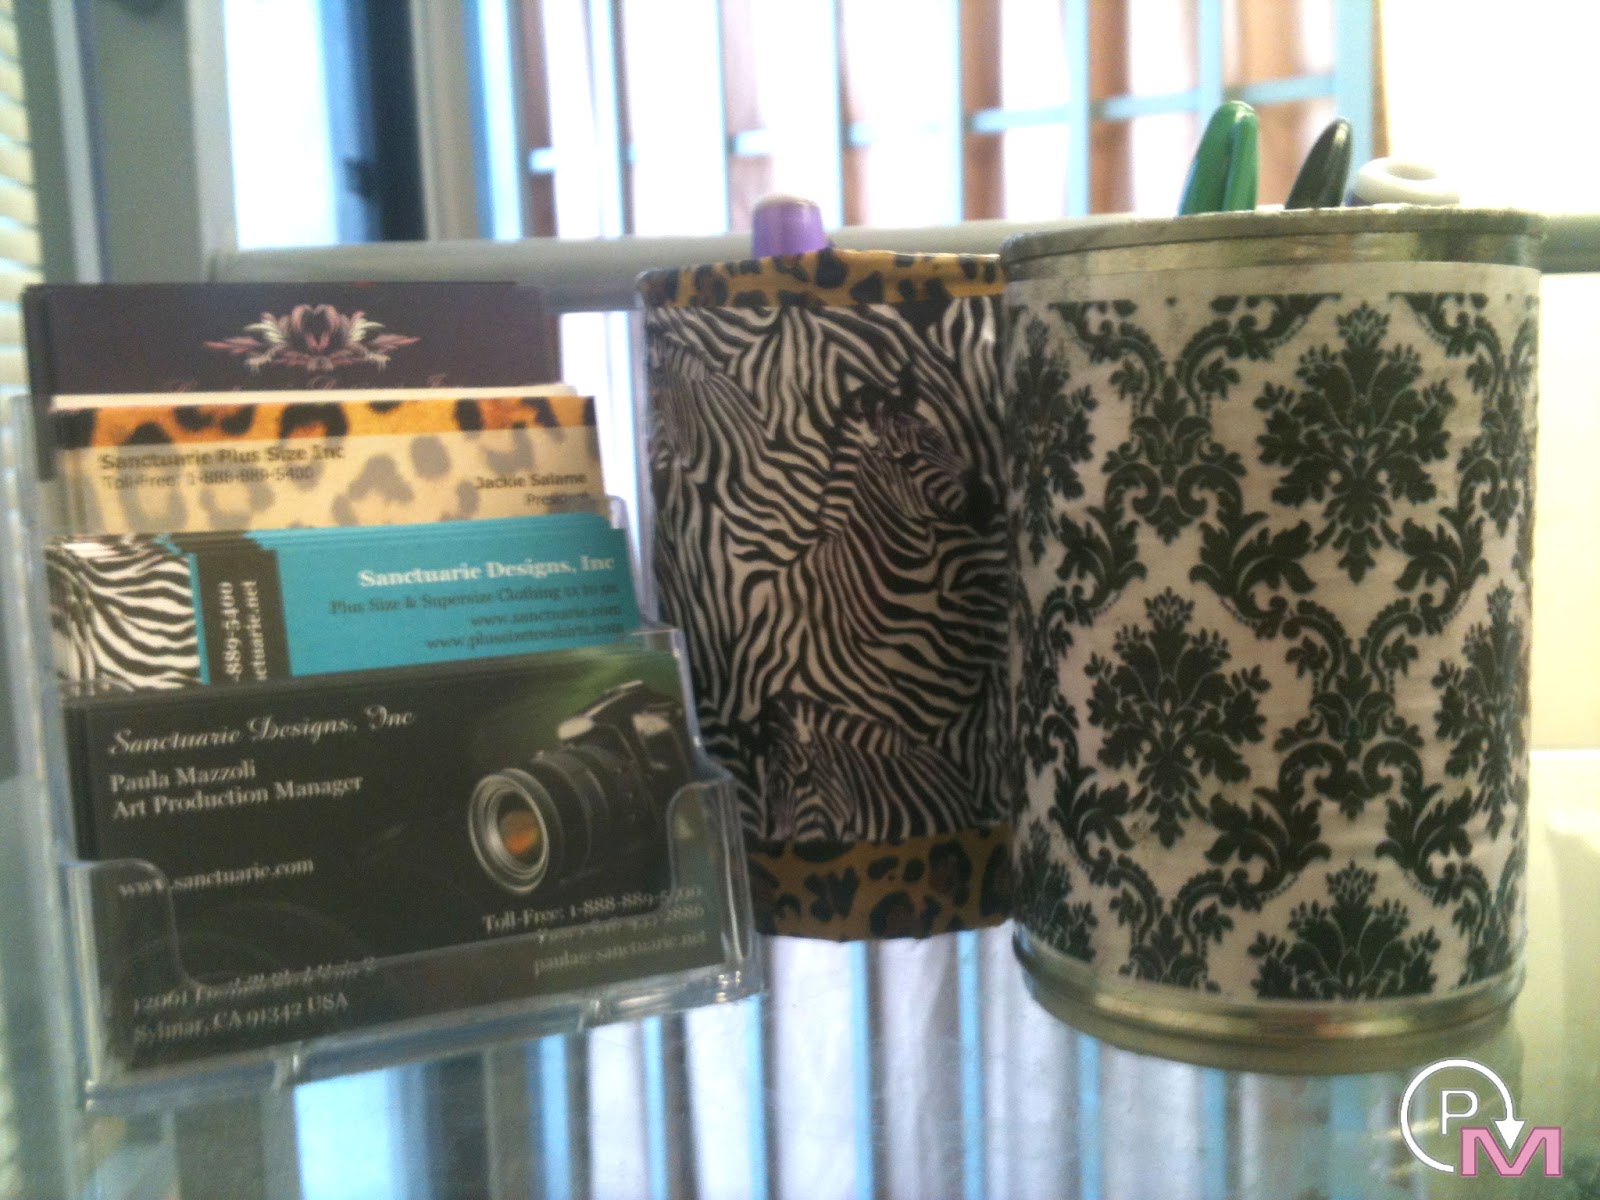
 at my desk at the office looking fabulous!

No comments:
Post a Comment